Steps to Writing A Grant: Part II
This article is Part 3 in the Grant Portal Limitations series.
In the last post we went through all the steps a grant writer goes through before they even type their first word. In this post, we’ll go through the rest of the steps, including typing your first word. Let’s assume that you’ve found a funding program, have done your research, and have made the decision to go for it and submit an application. What comes next?
4. Set up your drafting document
If you like to live life dangerously, you could write your application right in the portal. For people who buy a cute puppy without researching food and vet costs first, or who apply makeup and/or shave while driving, this might be appealing. The rest of us usually open up our word processor of choice and get to work.
The frustrating part of this process is that most funders don’t provide a word doc version of their portal questions, so most grant writing starts with the dull drudgery of copy-pasting questions into a new document. I suppose some might be afraid of people who would try to apply by submitting the document in spite of any instructions saying “APPLY THROUGH THE PORTAL” in big bold text.
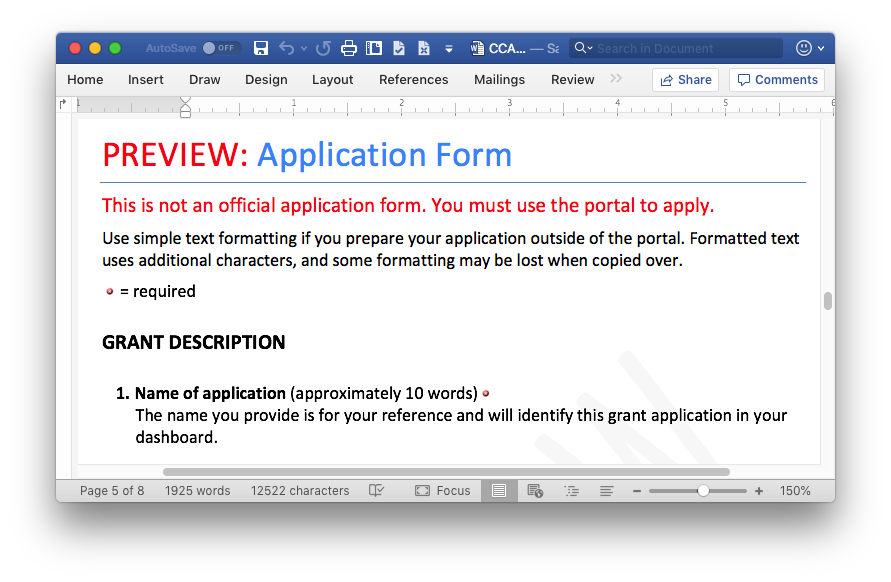
Canada Council for the Arts is one of the few funders that will give you a word doc of the application questions. Note that they’ve made the “You must use the portal to apply” warning very big and very red.
The copy-paste process is not always straightforward either. Some portals like to trick you by implementing logic in their application forms. For example, in the Canada Summer Jobs application, there is a part where you pick skills from a list to indicate what your hired student is going to learn. For each skill that you pick in the list, a new text box pops up asking you to provide more details.
If you made your word doc based on the questions listed on the Canada Summer Jobs webpage, there isn’t really any indication that this is how the form works. If you are unlucky, you might write up your whole draft and only realize you have more writing to do at the very last minute when you’re pasting your answers into the form. I’ve seen this in Ontario Arts Council applications as well.
As a precautionary measure, I now try and go through every question in an application form to make sure there aren’t any hidden surprises, clicking every potentially relevant drop-down in case a new text box pops up. Some forms will also check to make sure you’ve answered mandatory questions, so this sometimes requires the extra step of putting in fake answers so you can get through to the next page. While I’m doing these things, I also check how the portal formats text so that I know if it will add in automatic paragraph spacing or if I should double-press the enter key after each paragraph instead.
Because of all these foibles, grant writers have to start their work by doing a bunch of pointless copy-pasting and playing around with the application form to make sure they’ve caught everything. It’s an incredibly frustrating waste of time, and it’s unavoidable because you need to use a proper word processor to do good grant writing.
For example, if you use Word or Google Docs, here is a list of life-saving features that most grant portals don’t have:
- Robust spelling and grammar checking
- Track changes and comments
- File back-ups and autosave
- Some kind of version control (ranging in sophistication from saving word files with “Version X” in the file name up to Google Docs’ detailed document history)
- Find and replace
- Space to write drafting and research notes
And most importantly:
- The ability to highlight sections that you know are badly written so that you can put off fixing them until much later
5. Research the evaluation criteria
Now you have a nice word doc with all the application questions in it. Time to start writing, right? Wrong! Before typing anything, you should take a look at how your application will be scored. I often like to find the evaluation criteria that are relevant to each question and write out some notes about them under every question. It’s a great way to make sure your writing stays focused and to ensure that your efforts are going to result in a high-scoring application.
I also paste the full criteria at the top of the document in case I need to refer to it quickly. This also helps people who will later edit your work—if the first thing they read is the scoring criteria, they’ll hopefully make their edits while keeping in mind what the funder is looking for.
6. Start drafting
It’s finally time to write! I often start with a bullet point outline and type it all out into prose later, but if you just want to let your keyboard fingers fly, that’s cool too. You’re all set up, so go ahead and start writing out your answers.
A small tip for grant writers who want to make the world a better place: cite your sources, both internal and external. Most grant applications don’t require citations (in the arts anyway—we’ll talk more about this in a later post). However, if you add footnotes/endnotes that detail where you got a specific fact, especially when you are writing annual operating funding applications, you will be doing a big solid for the person who has your job after you leave.
7. Editing
Once at least part of your application is written up, you can start sharing it with your boss, friends, coworkers, etc. to start getting feedback. It might take a while to get to this stage, and I’ve usually found that it takes around 60-70% of the total project time to get to the first full draft. If possible, try to get there with some time to spare, because the less you rush your editors, the better feedback they’ll give you.
I strongly recommend having multiple people edit your draft, if possible. That being said, don’t go too overboard, because going through multiple sets of edits can be quite time-consuming. Ideally you want a small group who collectively tick off all the following boxes:
- Good writers
- Good copy-editors (some people can’t write a good narrative, but they can spot a grammatical error from a mile away)
- At least one person who has the authority to sign off on anything you’re promising in your application
- At least one person who knows your organization/field very well
Most importantly, you should also have at least one person who isn’t an expert on your organization/field and has the same level of background knowledge as the people who will end up reviewing your application. This person will help make sure you haven’t included any jargon or skipped explaining something because you’ve incorrectly assumed it’s “obvious”.
When you’ve finished incorporating the edits from all your reviewers, make sure to save time to go through the whole application one more time in case there are any errors that were missed.
8. Submit
Once you’ve finished the editing process and you’ve done a last check of the whole thing, it’s time to log in to the portal and upload. Ideally you should submit your application with some time to spare in case you run into any issues along the way. Some portals have also been known to crash under the load of everyone submitting their applications at the last minute.
Once you’ve pasted all your answers into the portal, uploaded your supporting material, and double-checked that all the questions in the portal are answered, take a deep breath and click “submit”.
You’re done!
Now that we’ve gone through the grant writing steps, we can take a deeper look at where most portals fall short. In the next post, I’m going to write boldly about formatting and underline what some of the common limitations are. It’s going to be colourful!
Articles in the Grant Portal Limitations series:
- Part 1 - Grant Portal Limitations - Intro
- Part 2 - Steps to Writing a Grant: Part I
- Part 3 - Steps to Writing A Grant: Part II (Current Page)
- Part 4 - Formatting Restrictions in Grant Portals